Intermediate Digital Photography
This page displays some digital photography projects and explains the basic procedures used to create them.
For any questions, please send me an email ([email protected]).
My Flight Photo Story Accordion Booklet Project
My Photo Story Accordion Booklet Project has been completed in the Photography 48 (Intermediate Computerized Digital Photography) course (Spring 2013, at East Los Angeles College), taught by Professor M. Hughes. The story is about the flight of Beebee, a toy animal, on a toy helicopter in one day. Digital photos of toys, interior and exterior scenes have been taken to provide materials for photo-montage in Photoshop.
The Booklet
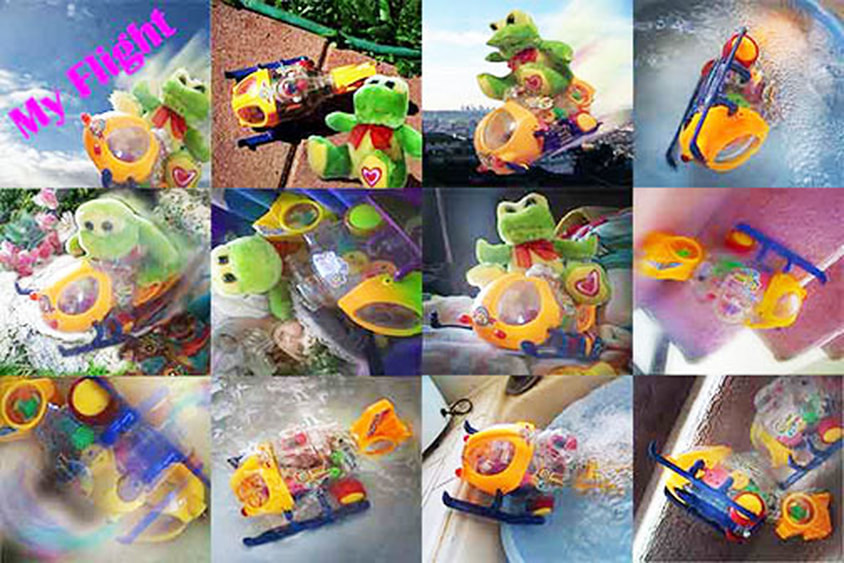
Figure IDPH-1A. The assembly of all panels in the accordion for production printout.
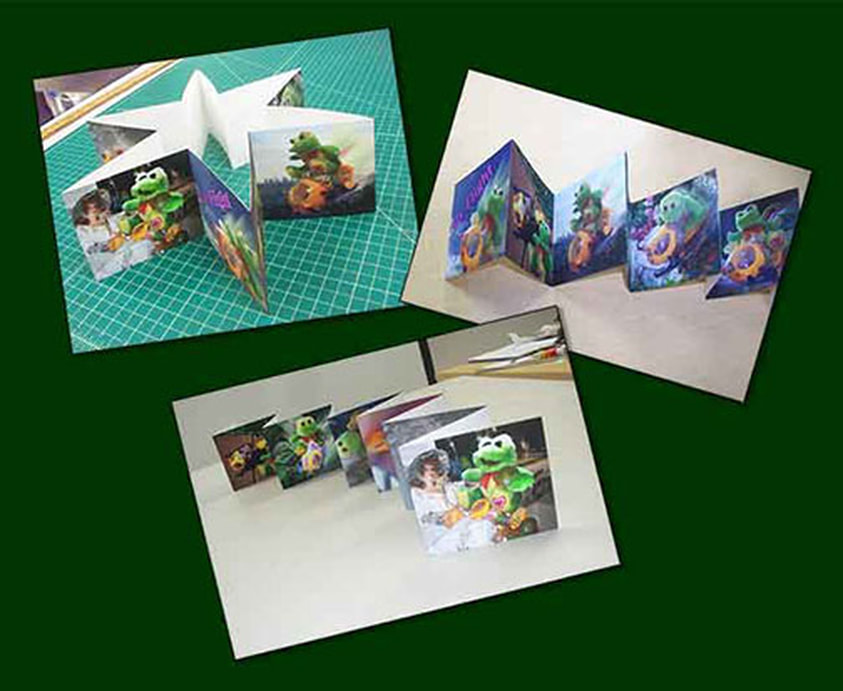
Figure IDPH-1B. The printed and folded prototype of the accordion booklet.
Suggested Project:
Select your favorite stuffed animal as the hero or heroine of your toy story, and give him or her a special name. Write a short story describing the one-day activity of your hero or heroine, in Microsoft Word, in12 point Times New Roman font, single-spaced, 6 point spacing between paragraphs, within the limitation of two pages (in 8.5in x11 in page size with default margin settings). Create 10 pages of 3 inch by 3 inch digital illustrations in Photoshop using elements from digital images you take from stuffed animals, toys, scenes from inside your house or apartment, from public parks, gardens or other natural attractions (do NOT use any picture downloaded from the Internet). Draw quick concept sketches for the 10 illustrations first, with a B series pencil, on 8.5 inch x 11 inch white paper, scan your drawings, save them as JPEG files, and combine images from scanned concept sketches into one single JPEG file. Next, create 10 single digital illustrations in Photoshop. Save the images as Photoshop .psd files at 300 dpi resolution. Next, create a 15 inch by 6 inch Photoshop file with 300 dpi resolution, display the Ruler and draw guides to separate the 3 inch by 3 inch digital illustrations; turn the Snap from the View menu on. While the10 single illustration files are still open, temporarily collapse the layers and copy the entire images to the Clipboard, and close the files without saving them. Next, paste the images to the 15 inch by 6 inch Photoshop file; and with the help of the Snap option, move the images to their right places. Save the file. Next, change the Image Size to 72 dpi Resolution (Figures DPH-1T and 1U), and go to the File-Save for Web menu to save it as a JPEG file at High resolution (Figures DPH-1V and 1W) for the possible publication of the image on my website. Email the single JPEG concept sketch file and the 15 inch by 6 inch Photoshop JPEG file, the story in Microsoft Word together with a short paragraph stating your request and authorization to publish it on my website’s Student Works Section, including your name and the name of your school; if you want viewers to contact you through email, please indicate so.
The Materials Used as Graphic Elements
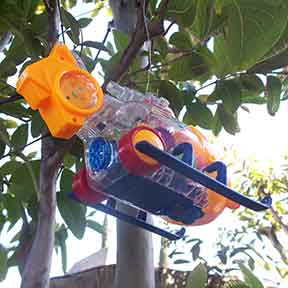
Figure IDPH-1C. The toy helicopter hung on a tree to provide special angles for picture-taking.
|
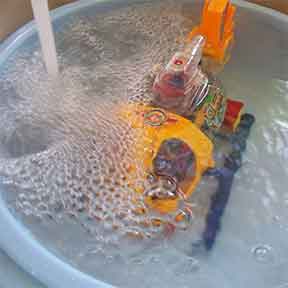
Figure IDPH-1D. Water faucet turn on to create illusion of waves and bubbles.
|
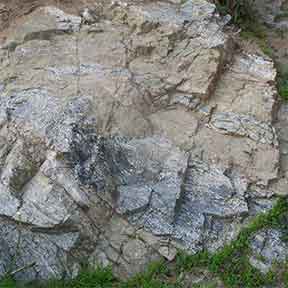
Figure IDPH-1E. Image of rocks used as backgrounds of illustration.
|
The Story Sequence
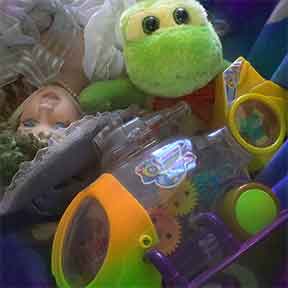
Figure IDPH-1F. A beautiful night sleep.
|
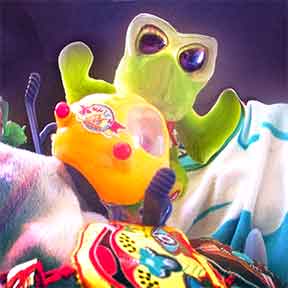
Figure IDPH-1G. Wake up in the morning.
|
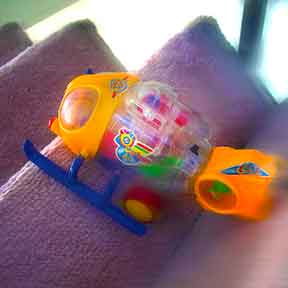
Figure IDPH-1H. The helicopter climbing the stairs to meet Beebee.
|
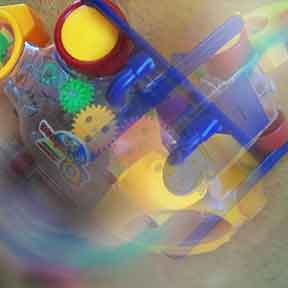
Figure IDPH-1J. The helicopter dancing at the door to Beebee’s bedroom.
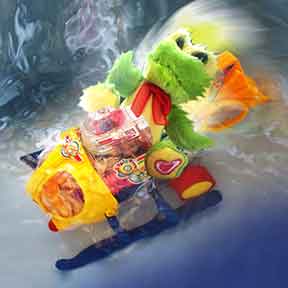
Figure IDPH-1M. Beebee and his helicopter gliding on the Pacific Ocean off Santa Monica Beach.
|
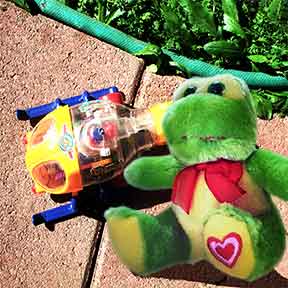
Figure IDPH-1K. Beebee and his helicopter taking a bath in early morning sun light.
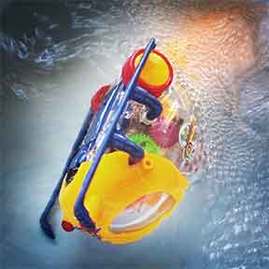
Figure IDPH-1N. The helicopter taking a bath in the Pacific Ocean.
|
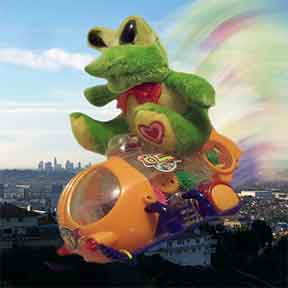
Figure IDPH-1L. Beebee taking off and flying over the City of Monterey Park.
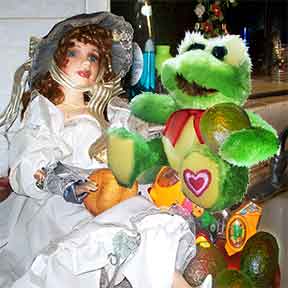
Figure IDPH-1P. Beebee taking a lunch break at the home of Ms. Suzanna, his girl friend in the City of Venice Beach.
|
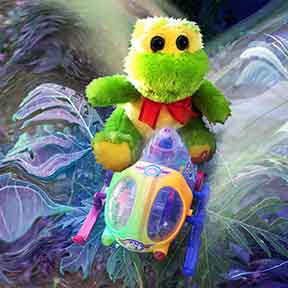
Figure IDPH-1Q. Beebee flying in the forest near palm Springs.
|
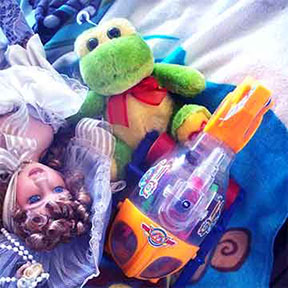
Figure IDPH-1R. Beebee taking a break with Suzanna.
|
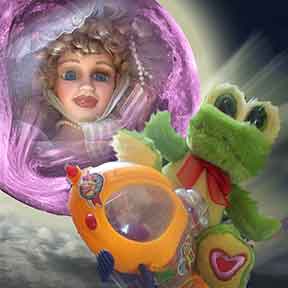
Figure IDPH-1S. Beebee falling asleep and dreaming about flying to the moon to meet Suzanna again.
|
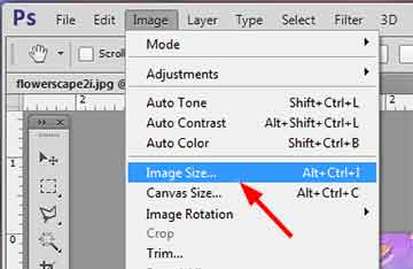
Figure IDPH-1T. The Image-Image Size menu.
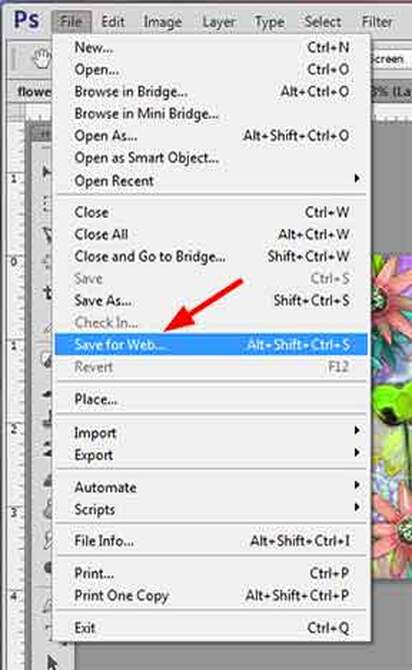
Figure IDPH-1V (above). The File-Save for Web… menu.
|
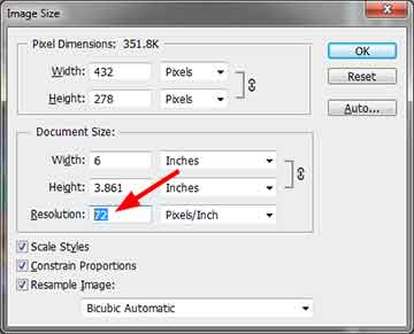
Figure IDPH-1U. The Image Size menu window.
|
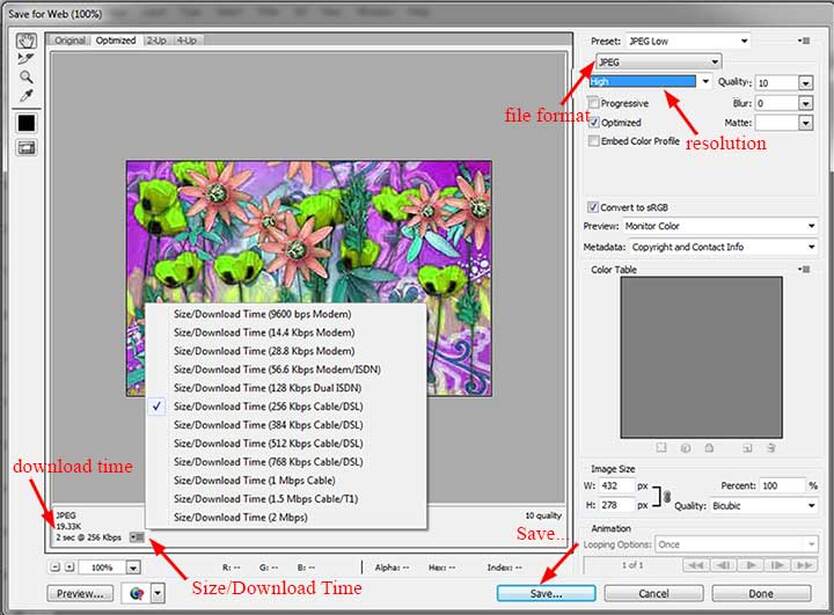
Figure IDPH-1V (left). The File-Save for Web menu window. First select the Size/Loading Time setting by clicking the popup menu triangle; the download time needed for the image will show up; next, select the JPEG from the fill format pull-down menu, select High from the resolution pull-down menu, and click the Save button to save the file to a desire location.
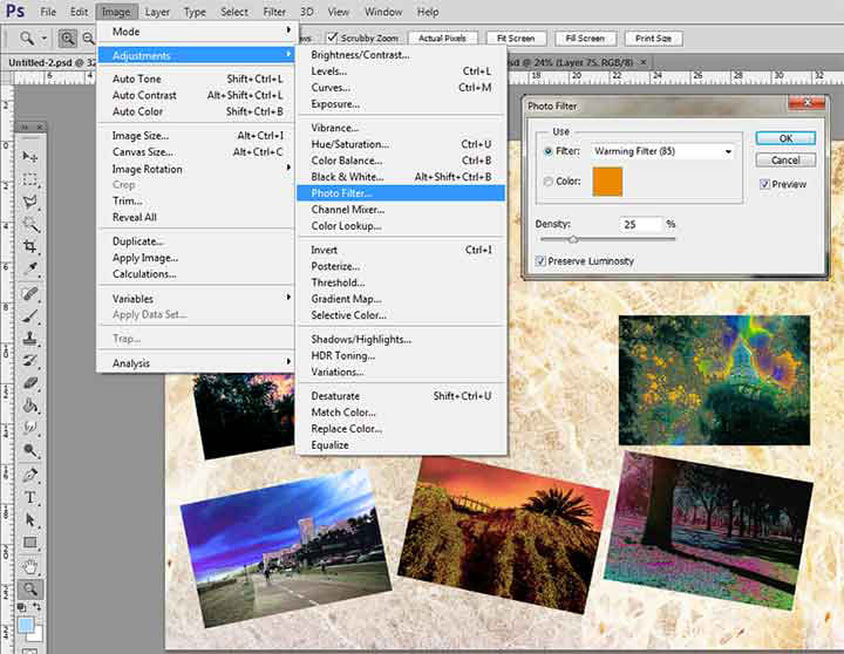
Figure IDPH-2B. The Photo Filter window from the Image-Adjustments menu. An overall color tone could be applied to an image. This tool allows the overall color scheme of an image to be maintained while a single color tone is applied to all areas of the image.
Los Angeles Area Scenery Project
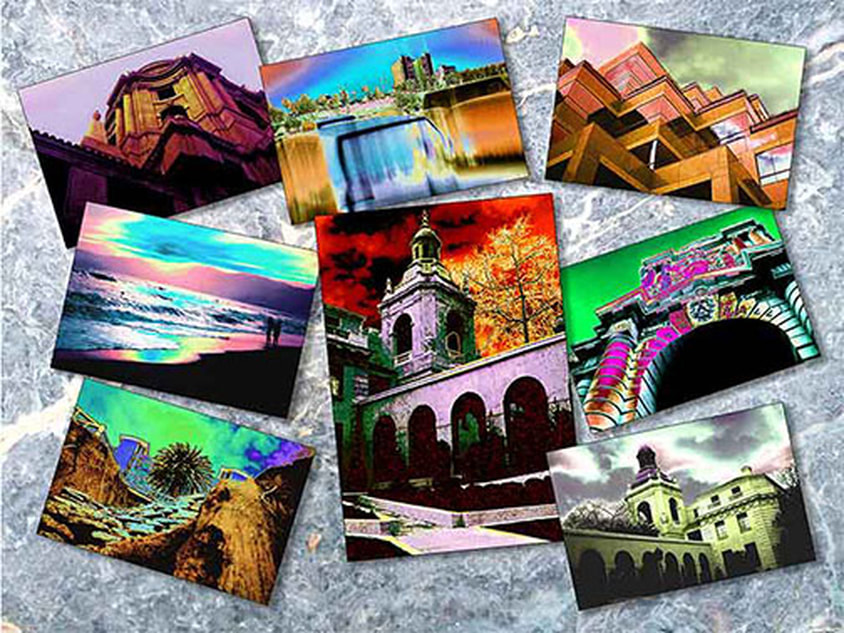
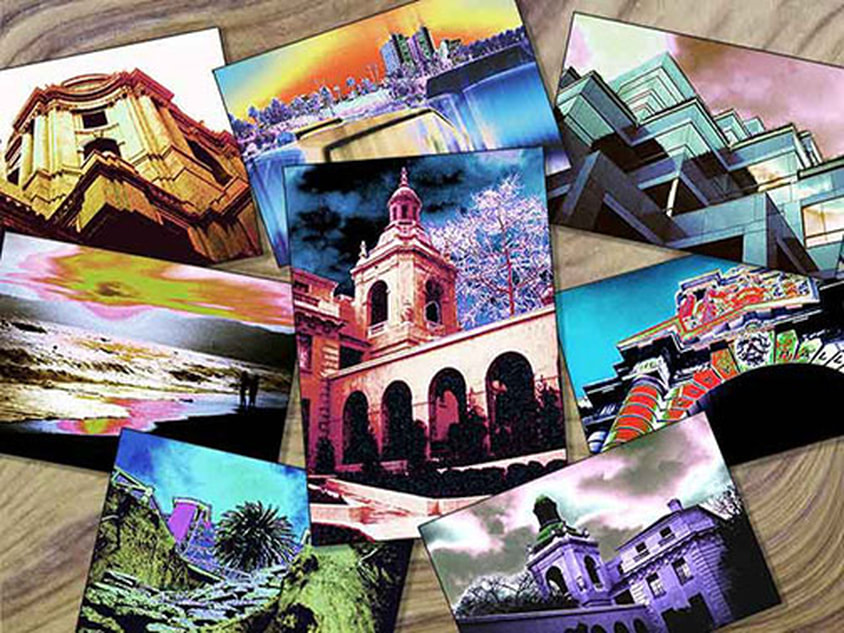
Figure IDPH-2A. Two versions of Hue/Saturation, Color Balance, and Photo Filter treatments of the same original scanned photos.
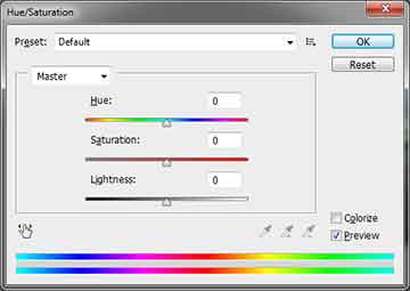
Figure IDPH-2C. By contrast, Hue/Saturation tool will change the color tones of all areas without any single color tone applied.
|

Figure IDPH-2D. Similar to Photo Filter submenu, using the Color Balance submenu will allow the overall color scheme of an image to be maintained while a single color tone is applied to all areas of the image; however, instead of applying a single color tone at once, the individual adjustments of color balance between Cyan and Red, Magenta and Green, and Yellow and Blue, must be made separately.
|
The Los Angeles Zoo Animal Project
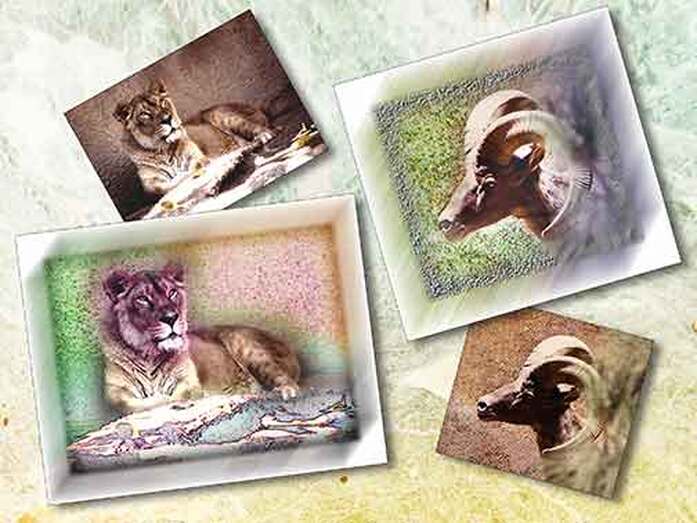
Figure IDPH-3A. Changes of color schemes in different parts of the images.
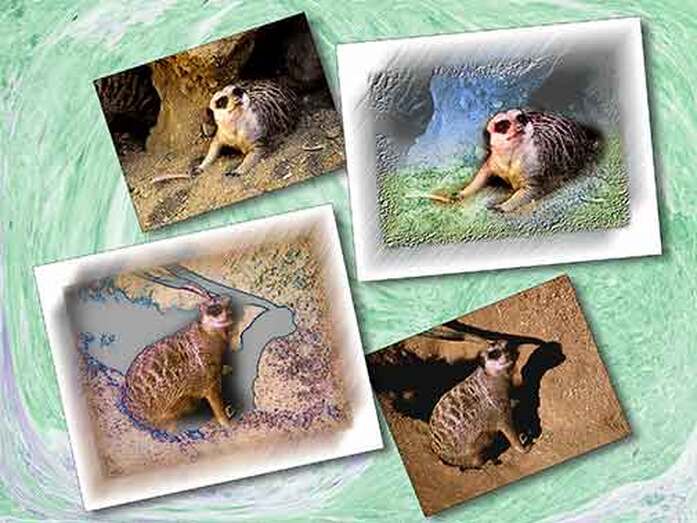
Figure IDPH-3B. Applications of filter effects in different parts of the images.
|
Changing Color Schemes and Applying Filter Effects to
Different Parts of the Images with Smooth Transitions between the Areas In the exercises on the left, different parts of the images have been selected with the Polygonal Lesso Tool first, and a reasonable amount of Feather have been applied to allow smooth transitions between the areas when color changes or filter effects are made to the feathered selections. Color scheme alterations are made with similar methods explained in Figures DPH-2B, 2C and 2D. Filter tools are from the Filters menu, and especially from the Filter Gallery submenu. The photos used in Figures DPH-3A and DPH-3B have been shot with traditional camera (a Pentex brand) and Kodak 35mm color film rolls. |
Edward Locke's SuniSea Studio
Important Websites and Webpages Navigator
At the bottom of the Home page. Please click the Home button below to return to the Home page.
Important Websites and Webpages Navigator
At the bottom of the Home page. Please click the Home button below to return to the Home page.

|
Contact Information:
[email protected] | Phone number for clients only. |
