The Happy Lion
The Happy Lion, a humanoid character, has been created in Maya for a 3D animation project. This is the same character created in 2D with the Flash program shown in the Character Design page. The image of the Happy Lion has been created in the Fall 2013 semester at East Los Angeles College in the courses taught by Professors Clisset and Libonati.
For any questions, please send me an email ([email protected]).
The 2D Image and 3D Model of the Happy Lion
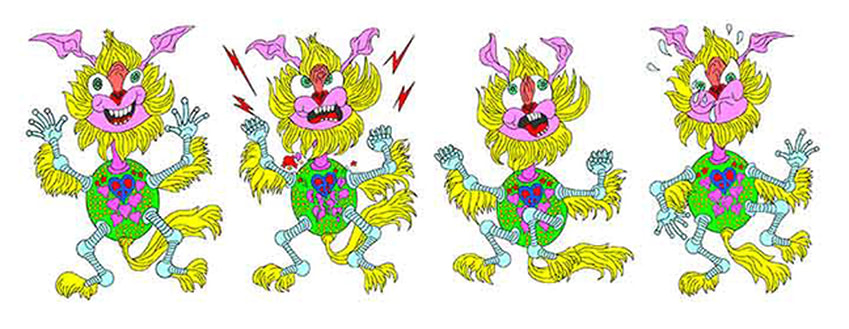
Figure HL-1A. Sketches of the Happy Lion character drawn with ball point pens and rendered with color pencils have been imported into Flash file as graphic reference; and Flash tools and settings have been used to trace over the imported sketches and create the character with four expressions.
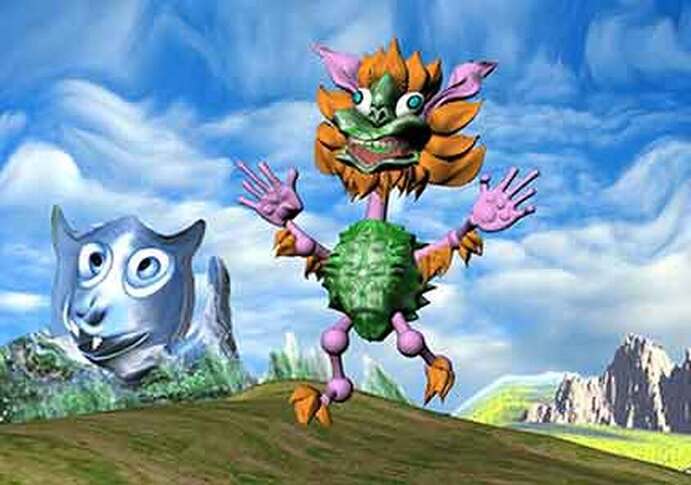
Figure HL-2A. The final version of the 3D model of the Happy Lion character with background scene fully rendered in Maya. In this image, the Happy Lion displays a facial expression of happiness.
|
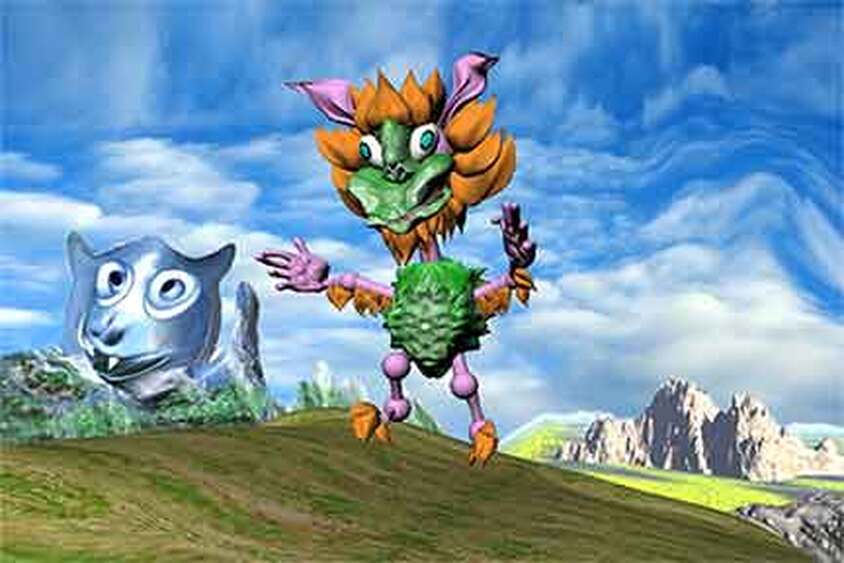
Figure HL-2B. The Happy Lion with a rather sad facial expression.
The Initial Modeling Process
To start the 3D modeling process, a side view plane and a front view plane have been created in Maya; two separate materials for each of the planes have been created; scanned JPEG images of the line works of the Happy Lion’s front and side views have been applied to the materials; and the materials have then been applied to the planes. Next, Polygon creation tools have been used to create the 3D model, using the planes as references, during the whole modeling process from the frontal and side view ports respectively.
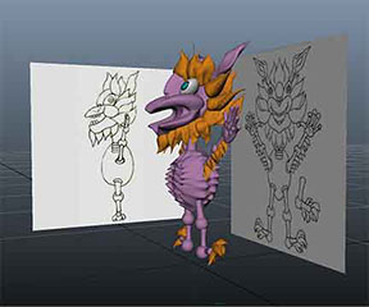
Figure HL-3A. The Happy Lion and the side plane (on the left).
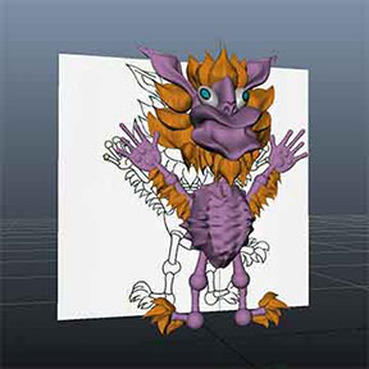
Figure HL-3B. The Happy Lion and the front plane (behind the 3D model).
|

Figure HL-3C. The Happy Lion seen from the four view ports.
|
Applying Texture Maps to the Surfaces of the 3D Model
The texture maps for the surfaces of the 3D models in this project have been created in Photoshop from scratch or from modifications of digital photos. For Maya to work effectively with the maps, the later should be saved as JPEGs with a small size less than 1,000 pixels by 1,000 pixels.
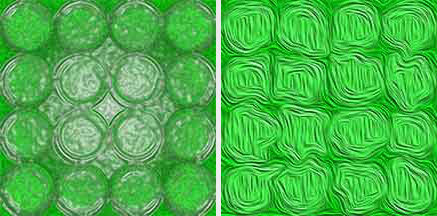
Figure HL-4A. The map for the head and body of the Happy Lion model has been created from scratch in Photoshop, with two layers; one is the green background, the other contains several green circular shapes; to create this layer, first create one New Layer for one green circle filled with green color; then duplicate this layer several time and move them to the right places with the help of Snap and Guides; next, apply Plastic Wrap Filter effects (left), or Oil Paint Filter effects (right).
|
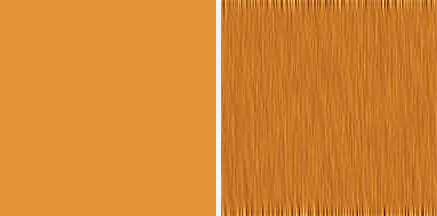
Figure HL-4B. To create the map for the hair of the Happy Lion model from scratch, first start a new file (1,000 pixels by 500 pixels, 72dpi); fill the Background Layer with orange color (left); next, apply the Filter Galley-Film Grain Filter and then the Blur-Motion Blur Filter from the Filters menu; next, duplicate the Background Layer and flip it vertically, change the Canvas Size to 1,000 pixels by 1,000 pixels; turn the Snap option on from the View menu; move the Background Layer to the top and the duplicated layer to the bottom, such that both will form a seamless whole; next, collapse the layers; next duplicate the layer again, and lighten up the image with the Image-Adjustments-Brightness/Contrast menu, select small portions of the top and bottom areas, apply a Feather with a reasonable amount, and delete the portions; finally, collapse the layers again and save the file in JPEG format (right).
|
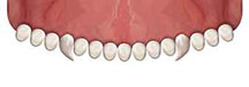
Figure HL-5A. The texture map for the upper teeth.
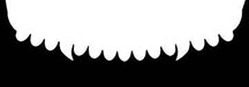
Figure HL-5B. The channel map for the upper teeth with the black area that will make the portion of the teeth model transparent when loaded into the material’s attributes window.
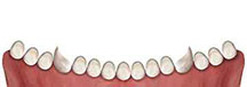
Figure HL-6A. The texture map for the lower teeth.
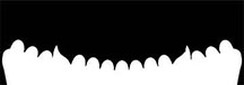
Figure HL-6B. The channel map for the lower teeth.
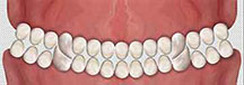
Figure HL-7. Assembly of both sets of upper and lower teeth.
|
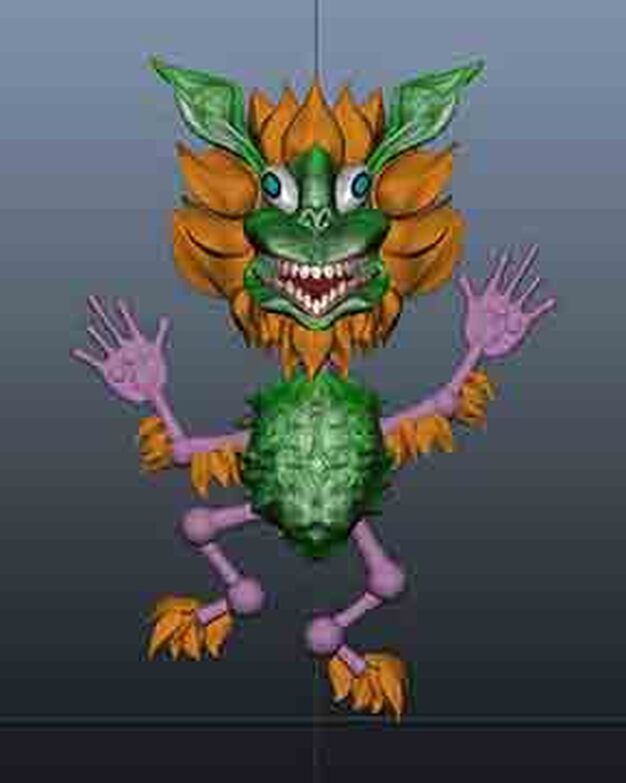
Figure HL-8. The 3D model of the Happy Lion with all texture maps applied.
|
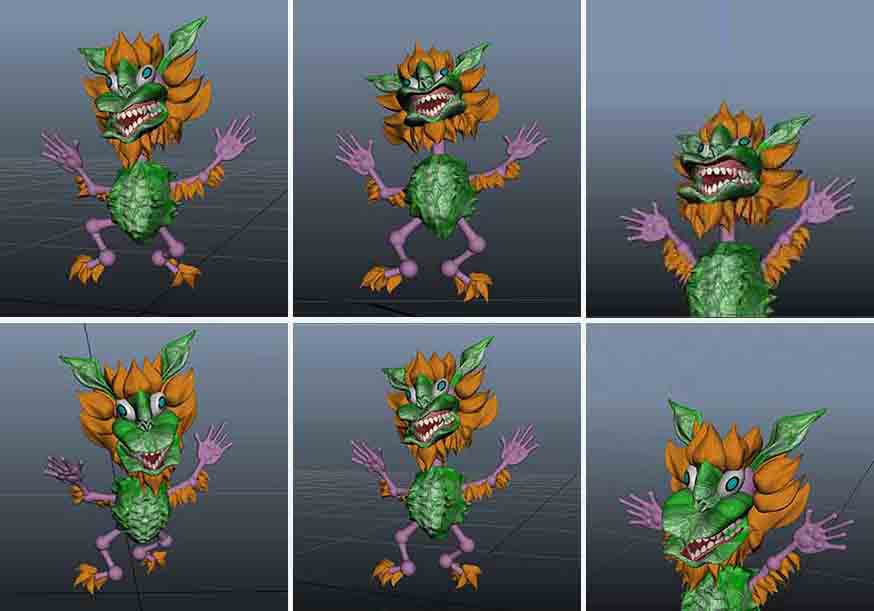
Figure HL-9. Different views of the Happy Lion model.
Alternative Texture Maps for the Nose and Mouth of the Happy Lion Character
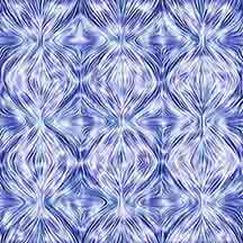
Figure HL-10A. Alternative texture map for the nose.
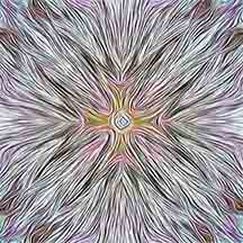
Figure HL-10B. Alternative texture map for the mouse.
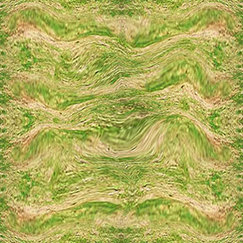
Figure HL-10G. The image map for the foreground shown in Figure HL-2A.
|
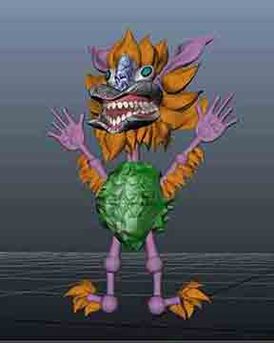
Figure HL-10C. The 3D model of the Happy Lion character with alternative texture maps for the nose and the mouth (quarter view).
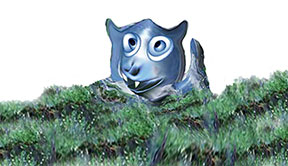
Figure HL-10E. The image map for the Snow Mountain Head background image plane shown in Figure HL-2A (left side).

Figure HL-10F. The channel map for the Snow Mountain Head background image plane shown in Figure HL-2A (left side).
|
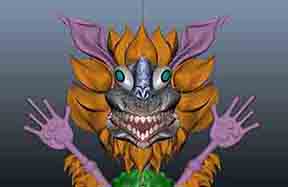
Figure HL-10D. The front view of the Happy Lion’s head with alternative texture maps for the nose and the mouth.
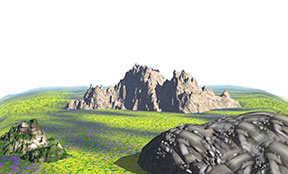
Figure HL-10G. The image map for the mountain background image plane shown in Figure HL-2A (right side).
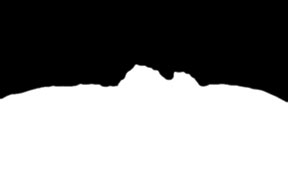
Figure HL-10H. The channel map for the mountain background image plane shown in Figure HL-2A (right side).
|
Create Blend Shape Models for the Movement of Mouth
Blend Shape models, actually duplicates of parts of the 3D model to be modified separately, could be created to help animate parts of a 3D model without modifying the original models per se. This is a handy technique for creating animation of complicated parts of a 3D model without affecting the integrity of the original model.
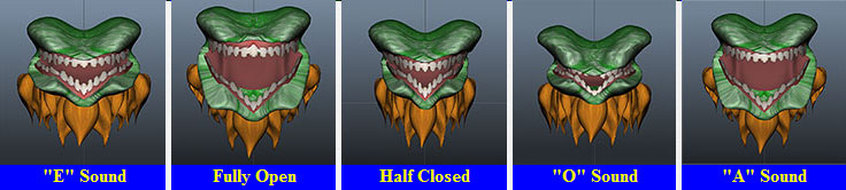
Figure HL-11A. Five Blend Shape models created for the movement of the mouth, based on the shapes of the mouth when pronouncing certain sounds such as “A,” “E.” and “O.” To create these models, select the original model of the mouth first, press the Ctrl(Command in Mac) and D keys simultaneously to duplicate it and move it away with the Move Tool; repeat the process four times; next, right-click on a Blend Shape model and select the Vertex option from the short-cut menu; next, select relevant vertexes and use the Move, Rotate and Scale Tools to change the shape of the mouth.
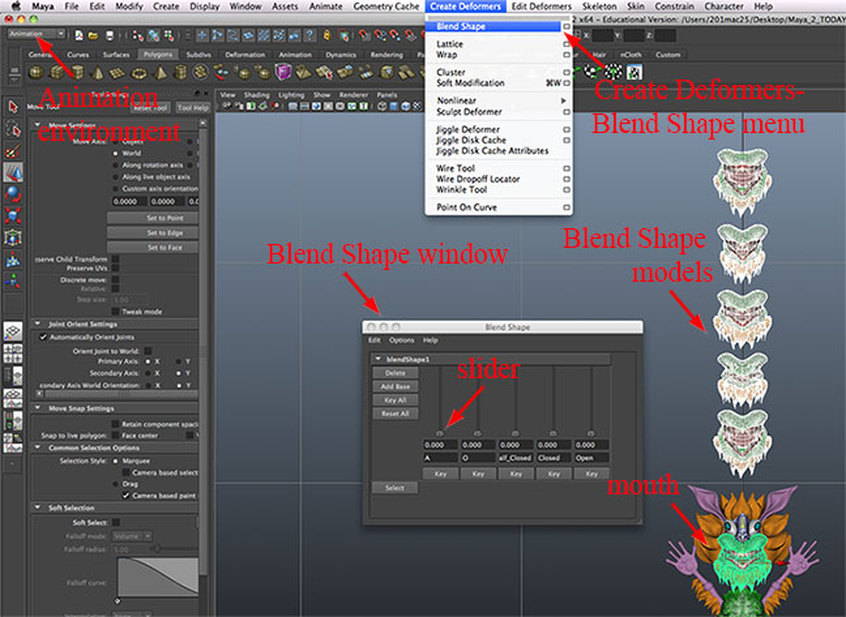
Figure HL-11B. To use the Blend Shape models, first switch to the Animation environment select the original model of the mouth with the five Blend Shape models, go to the Create Deformers-Blend Shape menu to connect them; the Blend Shape window opens with the five Blend Shape models listed;. To create animation of the mouth, select a frame in the timeline (Figure HL-1C), and drag the slider up or down from relevant slot of Blend Shape window.
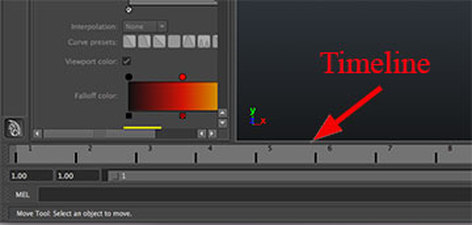
Figure HL-11C. The Timeline.
|
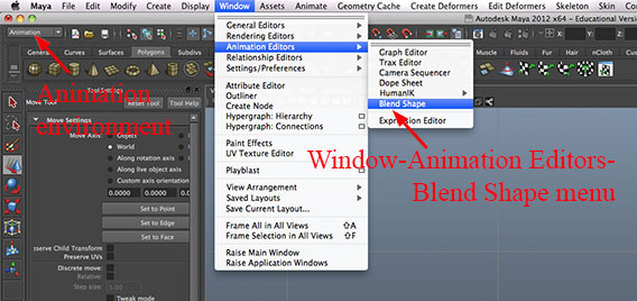
Figure HL-11D. To create Blend Shape animation, go to the Window-Animation Editors-Blend Shape menu to open the Blend Shape window (as shown in Figure HL-11B).
|
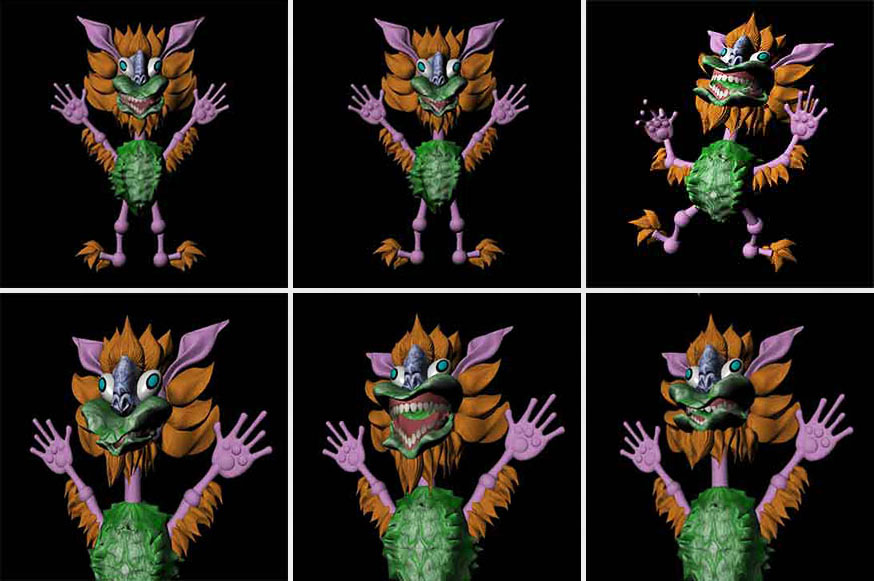
Figure HL-11E. Rendered images of various frames of the animation with different shapes of the mouth created with the help of Blend Shape models controlled by the sliders in the Blend Shape window.
Creating Joints for the Movement of Body Parts
Joints could be created to manage the movement of different parts of the model during the animation process or simply as a tool to modify the model, for example, to bend a finger that has been created straight.
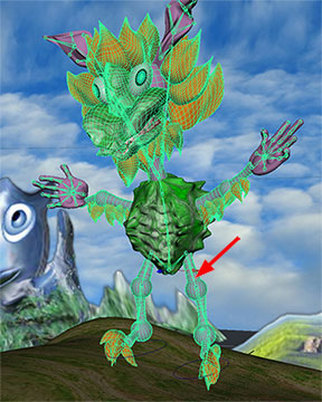
Figure HL-12A. The Joints connect different parts of the 3D model, for example, the upper leg, the knee and the lower leg, and allow the movements of various parts to be interactive.
|
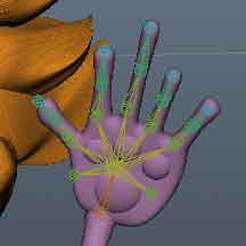
Figure HL-12B. The hand with straight fingers after adding Joints.
|
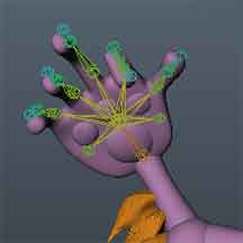
Figure HL-12C. Rotating some members of the Joints will cause the corresponding parts of the fingers to bend.
|
The Happy Lion Holding a Flag
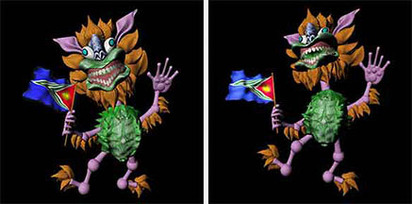
Figure HL-10H. Rendered images.
|
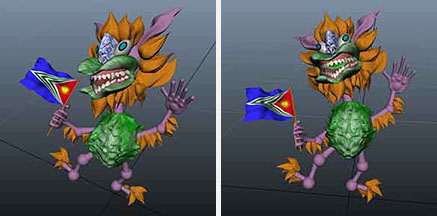
Figure HL-10J. Screen shots.
|
Edward Locke's SuniSea Studio
Important Websites and Webpages Navigator
At the bottom of the Home page. Please click the Home button below to return to the Home page.
Important Websites and Webpages Navigator
At the bottom of the Home page. Please click the Home button below to return to the Home page.

|
Contact Information:
[email protected] | Phone number for clients only. |
